
 en
 English
 русский
 Français
 Español
 Português
 Tiếng Việt
Content
- 1 Dressing First Aid: The Two Layers You Are Really Working With
- 2 Step by Step: Dressing a Wound After an Injury
- 3 Matching the Dressing to the Injury
- 4 Securing a Dressing Without Cutting Off Circulation
- 5 What to Watch in the Days After the Injury
- 6 Common Mistakes in Post-Injury Dressing Care
- 7 Support and Pressure: Where Elastic Webbing Comes In
- 8 Materials That Stand Up to Real Post-Injury Use
Few moments feel as urgent as the first few minutes after a cut, a graze, or a bleeding wound. In those minutes, a dressing is doing quiet but vital work: it presses against the wound, absorbs what seeps out, and keeps dirt and bacteria away while the body begins to repair itself. Dressing first aid is not complicated, but the details matter a great deal — the pad you choose, the way you place it, and the layer you use to hold it down.
We are Jinhu Hengxiang Webbing, a manufacturer of elastic and non-elastic webbing that ends up inside sports supports and orthopedic braces. For two decades we have produced the bands, straps, and panels that keep dressings and supports where they belong, so we tend to look at post-injury care from both sides: the person kneeling beside an injured friend, and the product team specifying the material that has to perform on the body.
Dressing First Aid: The Two Layers You Are Really Working With
The words "dressing" and "bandage" are often used as if they were interchangeable, but they do different jobs, and confusing them is one of the most common reasons a wound ends up poorly protected.
- The dressing is the pad — gauze, cloth, or a modern non-adherent material — placed directly against the wound. It absorbs blood and fluid and forms a barrier against infection.
- The bandage is the layer that covers the dressing and holds it in place. It does not need to touch the wound itself.
- The support layer, usually an elastic bandage, elastic strap, or hook-and-loop closure, adds controlled pressure and keeps everything steady when the person starts moving again.
Good care after an injury uses all three, in that order. Pressure on the wound slows the bleeding, the dressing keeps the wound clean, and the bandage or support layer keeps the dressing from shifting on the way to the car.
Step by Step: Dressing a Wound After an Injury
The sequence below is the one we would follow ourselves, and it is the one most first aid training converges on.
- Wash your hands and put on disposable gloves before touching the wound or the dressing.
- Control the bleeding first. Press a sterile gauze pad or clean cloth firmly onto the wound and hold for several minutes without lifting it to peek.
- Clean gently around the wound with clean water or saline. Avoid pouring alcohol or hydrogen peroxide into the wound itself.
- Choose a pad slightly larger than the wound, so the edges rest on intact skin rather than on broken tissue.
- Place the dressing directly on the wound without touching the surface that will face the wound.
- Secure the dressing with a bandage, tape, or an elastic strap. Aim for firm, even pressure — never tight enough to pinch.
- Check circulation below the bandage: fingers or toes should stay warm and pink, with no tingling or numbness.
- Note the time. A dressing that becomes soaked through should be replaced rather than topped up.
Matching the Dressing to the Injury
Different wounds need different surfaces against them. The table below is the quick version we share with colleagues and customers.
| Type of injury | Dressing to reach for | Securing layer | What to watch |
|---|---|---|---|
| Minor cut or graze | Adhesive dressing or small sterile gauze pad | Adhesive border or thin conforming bandage | Replace when wet or soiled |
| Bleeding wound | Sterile gauze pad with firm direct pressure | Bandage plus elastic wrap if needed | Bleeding should slow within minutes |
| Burn or blister | Non-adherent or low-adherent dressing | Loose conforming bandage | Avoid fluffy cotton against the skin |
| Joint or moving area | Gauze pad held flat | Elastic bandage with moderate stretch | Recheck circulation after movement |
| Binder or brace support | Thin dressing under the support | Elastic panel, strap, or hook-and-loop closure | Support should be firm, not painful |
Securing a Dressing Without Cutting Off Circulation
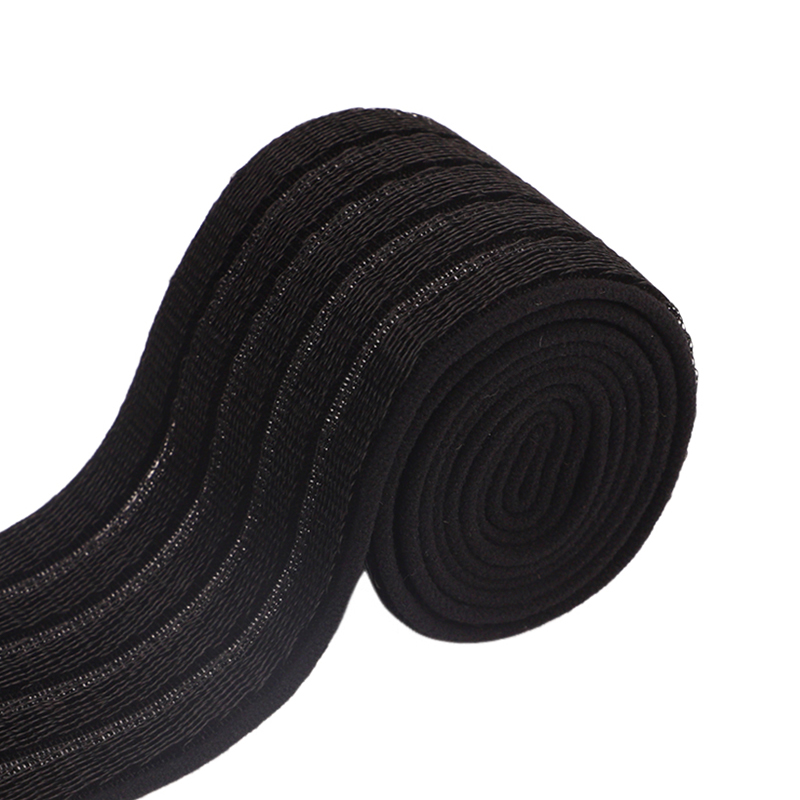
This is where elastic materials earn their place. A conforming elastic bandage follows the shape of a knee, elbow, or ankle instead of bunching, and it holds the dressing with gentle, even pressure. A hook-and-loop strap is even more forgiving after an injury: it can be loosened in seconds if the area swells, then tightened again without disturbing the dressing underneath.
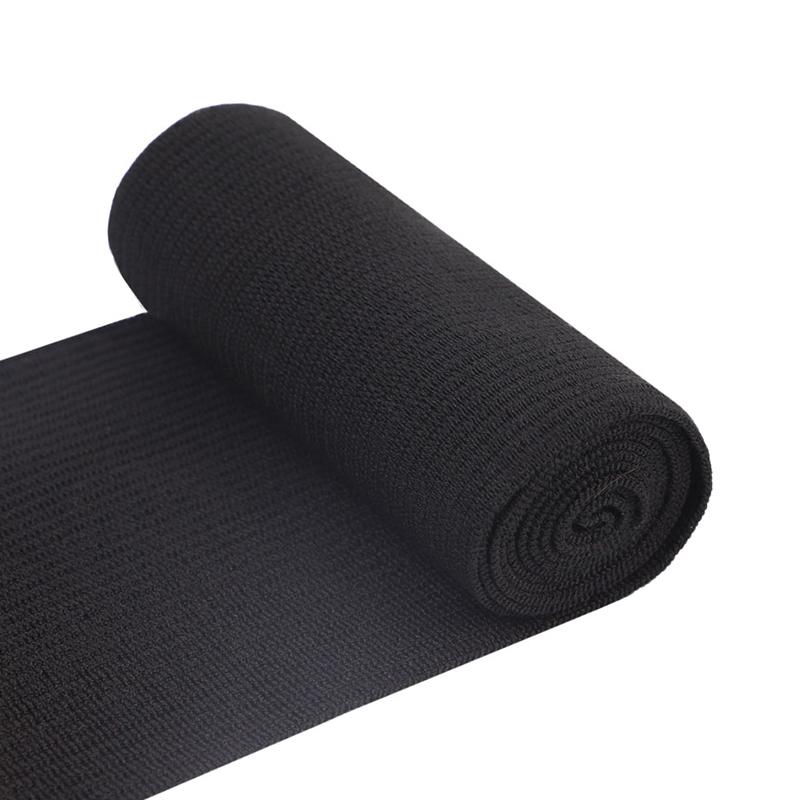
For a clean, well-protected wound, a light beige medical elastic bandage gives you a low-profile layer that is easy to inspect and easy to rewrap:
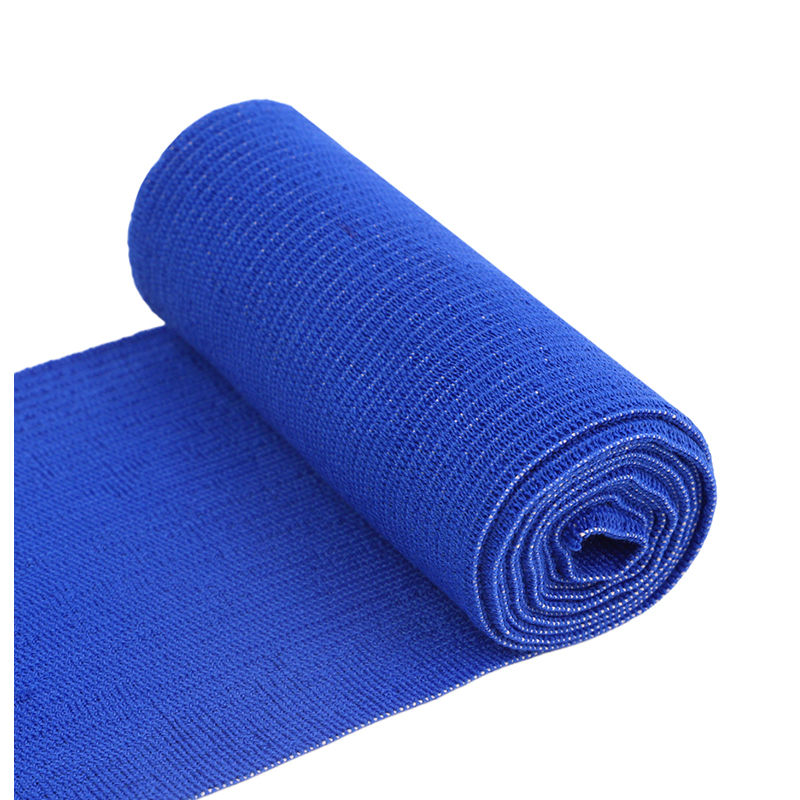 10cm Light Beige Medical Elastic BandageThis 10cm light beige elastic bandage provides flexible support, breathable comfort, and conforming coverage for wounds or joints that need easy inspection and rewrapping.View Product →
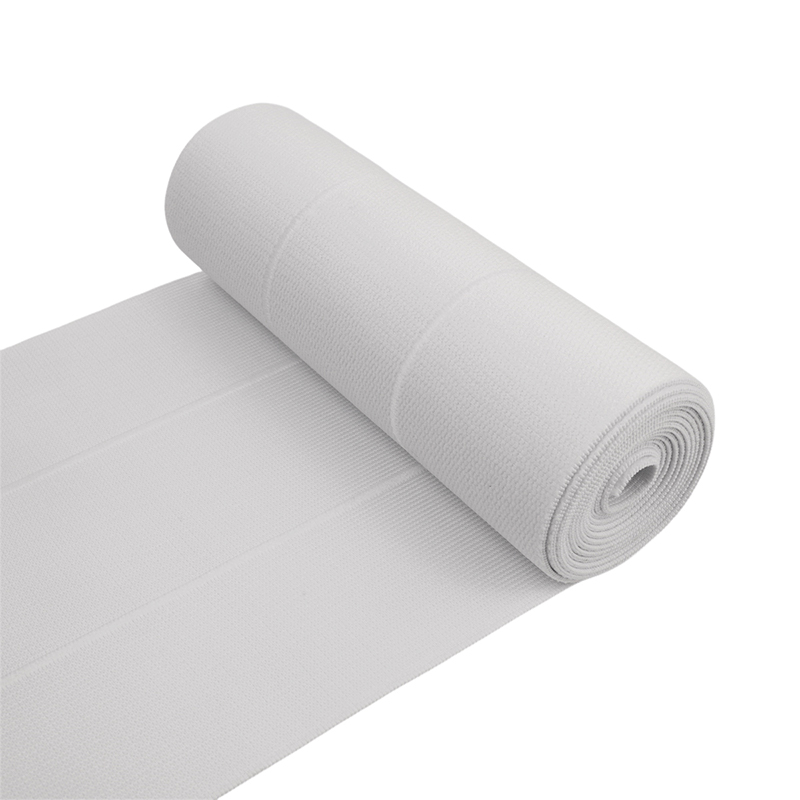
When a dressing needs adjusting often — after a sprain, during rehabilitation, or on a joint that moves all day — a hook-and-loop elastic strap saves a great deal of tape and skin:
 8cm White Velcro Elastic PanelsThese 8cm white elastic panels use adjustable hook-and-loop fastening for secure, even support, useful when dressings need frequent adjustment without repeated tape.View Product →
Whichever you choose, keep one rule in mind: if the skin below the bandage turns pale, cool, or tingly, the wrap is too tight and needs to come off immediately.
What to Watch in the Days After the Injury
The first dressing is only the beginning. Most wounds heal uneventfully when the dressing stays clean and dry, but a few signals deserve prompt medical attention.
- Bleeding that soaks through the dressing and does not slow with continued pressure.
- Growing pain, swelling, redness, or warmth around the wound.
- Pus, an unpleasant smell, or a fever — possible signs of infection.
- Numbness, coldness, or a blue tinge below the bandage, meaning circulation is being restricted.
- Bites, punctures, or wounds from dirty objects, which may need professional cleaning.
For everyday cuts and grazes, change the dressing when it becomes wet or soiled and inspect the wound at the same time. A dressing that has dried onto the wound can be loosened with clean water rather than pulled off.
Common Mistakes in Post-Injury Dressing Care
- Wrapping too tightly in an effort to stop bleeding. Pressure belongs on the wound, not around the whole limb.
- Using loose cotton wool directly on a wound, which leaves fibres behind.
- Stretching an elastic bandage to its full extension instead of a moderate stretch.
- Leaving a soaked dressing in place because removing it seems painful.
- Reusing a dressing or strap that has picked up dirt from the floor or a gym bag.
- Skipping the circulation check, which takes five seconds and prevents a serious problem.
Support and Pressure: Where Elastic Webbing Comes In
Dressings protect; support layers stabilise. After abdominal surgery, a caesarean, or a rib injury, a binder worn over a dressing provides gentle, consistent compression and reminds the wearer not to twist or strain. The multi-panel elastic used in these binders is shaped so that pressure stays even across the abdomen instead of digging in at the edges.
If you would like a closer look at why elastic support helps in these situations, our team wrote about how elastic webbing supports abdominal binders.
A four-panel elastic with a soft plush surface is a typical choice for binder construction, since the plush side sits comfortably against a dressing or a layer of clothing:
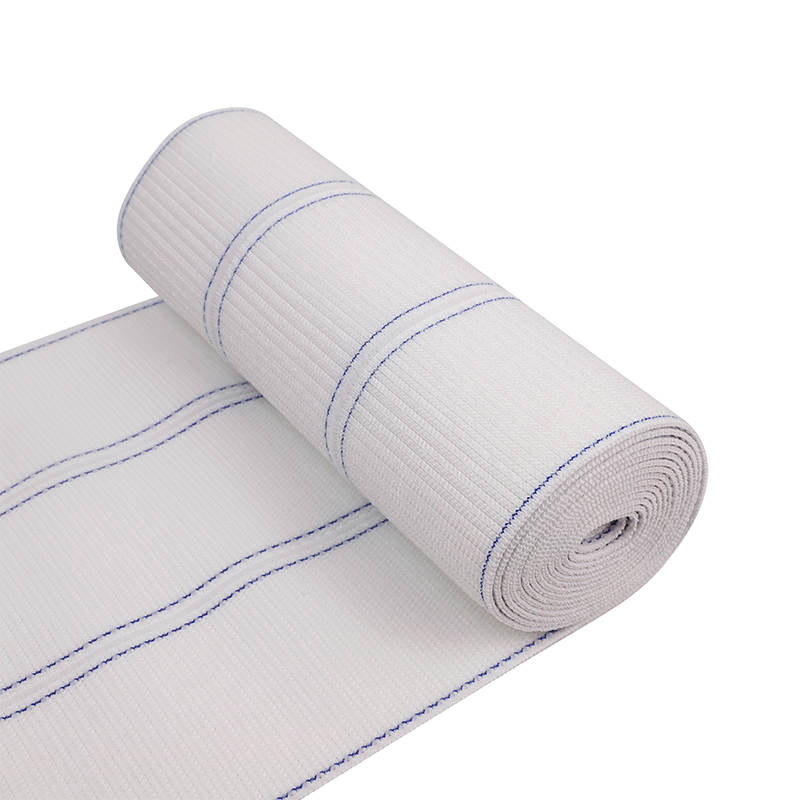 4 Panels Elastic with One-Side PlushA four-panel elastic with a soft plush side for binder construction, combining breathable comfort, even support, and a flat side for secure fit.View Product →
Materials That Stand Up to Real Post-Injury Use
From a manufacturing point of view, a dressing-securing material has a short list of demands: it must stretch and recover consistently, hold its width after washing, stay soft against skin, and not shed fibres onto a healing wound. We produce our elastic webbing on updated warping, knitting, weaving, and packaging equipment, and we work to strict controls from raw material through to final packing. Our facility holds Oeko-Tex Standard 100 and ISO 13485 certification, which matters when a bandage or brace will sit against broken skin.
We also take on OEM and ODM projects, so if a dressing retention strap, binder panel, or brace band does not yet exist in a catalog, it can usually be engineered from a width, stretch, and closure specification.
Dressing first aid rewards preparation more than improvisation. Keep a small kit with sterile gauze, a conforming bandage, and a reliable way to secure it; know the steps; and check circulation every single time. If you are sourcing the elastic materials that go into bandages, binders, or braces, take a look at our elastic webbing catalog or send us your requirements — we are always glad to help match the right construction to the application.