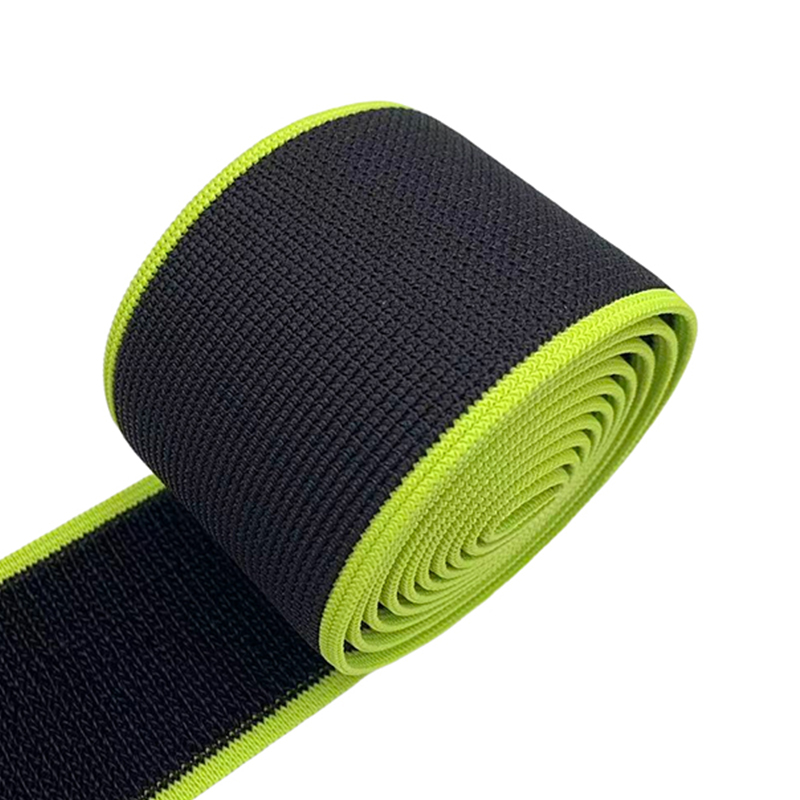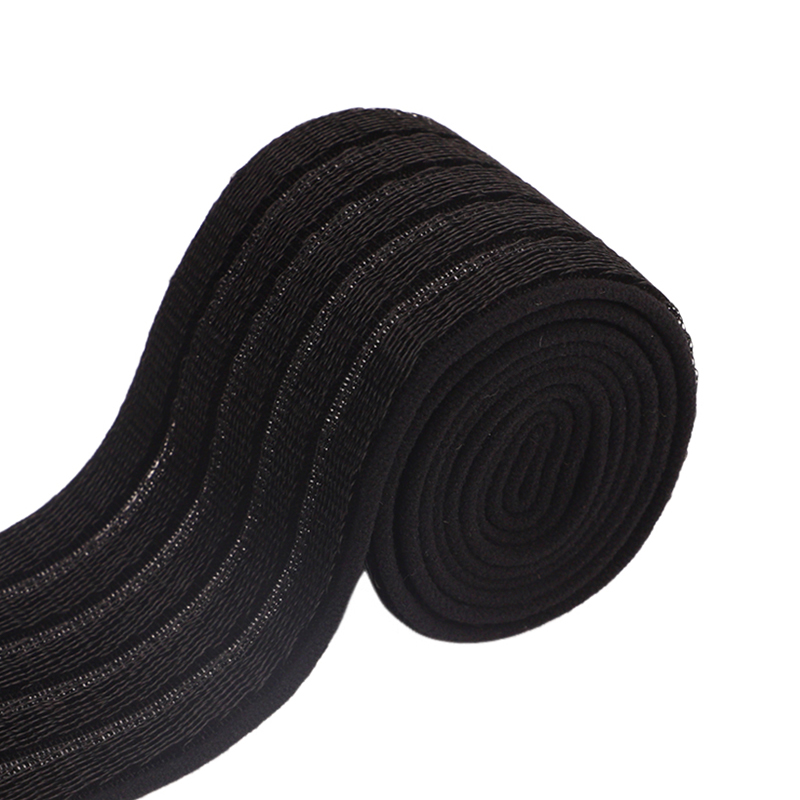

 en
 English
 русский
 Français
 Español
 Português
 Tiếng Việt
Content
Most patients leave hernia surgery with the same three-part instruction: walk early, avoid lifting, and wear your abdominal binder. Published research on hernia repair recommends binders to support wound healing and reduce the strain that can lead to recurrent herniation, and hospital aftercare programs commonly ask patients to wear one for about six weeks. The catch is that a binder delivers those benefits only when it sits in the right place, carries the right tension, and stays on consistently. Fitted well, it eases pain every time you stand, cough, or climb stairs; fitted carelessly, it becomes a source of pressure marks and itching that ends up in a drawer by week two.
What the Binder Is Doing for Your Healing
An abdominal binder is a wide elastic band that wraps around your belly and upper hips, and after hernia repair it does several jobs at once. It applies light, even compression over the incision, which helps limit fluid collection — the seromas surgeons warn about. It supports the abdominal wall each time you cough, sneeze, laugh, or push yourself out of a chair. It also acts as a physical reminder to move deliberately rather than twist or jerk, which matters most in the first two weeks while tissue is still fragile.
If you want a fuller picture of how the product itself works before refining your technique, this overview of what an abdominal binder is and how elastic support works explains how stretch and recovery in the elastic webbing translate into therapeutic compression.
Fit the Binder Correctly: Position First, Then Tension
Get the position right
Correct placement is the foundation of everything else. The binder should sit with its lower edge across the top of your hips and upper pubic bone, and its upper edge just below your ribs, so the entire incision line is covered with margin to spare. A binder that rides above the navel leaves the lower abdomen and groin unsupported — a common issue after inguinal and lower midline repairs — while one that sits too low rolls up when you walk.
Putting it on, step by step
- Apply it while lying down or standing relaxed. In the first days after surgery, lying down is easier and keeps compression even.
- Center the back panel against your spine, then bring the two sides around your waist.
- If your binder is a multi-panel design, fasten the lowest panel first and work upward, smoothing the fabric so no folds press into the incision.
- Close the front hook-and-loop at a setting you can loosen later; never start at maximum tension.
- Stand up, cough once, and re-snug the closure if the binder has shifted.
The two-finger rule
Snug is the goal; tight is not. You should be able to slide two fingers flat under the top and bottom edges, take a slow full breath, and feel the binder hold you without pushing. If you notice numbness, tingling, or pressure that makes each breath shallow, reopen one row of the closure and fasten again. Remember that the binder is not holding your incision together — your sutures and mesh are doing that — so more compression does not mean more protection.
Quick Fit Checks to Run Every Time
| Fit check | What you should feel | What to do |
|---|---|---|
| Two fingers slide under any edge | Snug hold, easy breathing | Tension is correct; proceed |
| Shallow breath or pressure when inhaling | The binder is too tight | Reopen one row and fasten again |
| Fabric folds when you bend or sit | The binder is too loose | Close one row tighter and smooth flat |
| Tingling or numb skin after ten minutes | Circulation is being squeezed | Loosen at once and re-check position |
| Edges rolling when you walk | Wrong height or wrong size | Reposition or ask about a different width |
A Wear Schedule That Matches Your Recovery
Most protocols fall somewhere between two honest approaches. Some hospital programs ask patients to wear the binder as much as possible for the first six weeks, including while sleeping, because many patients find the support more comfortable at night. Other surgical groups advise wearing it during activity and removing it in bed. Both are established practice — the deciding factor is your own surgeon's protocol, your hernia type, and your incision.
What stays consistent across protocols is when the binder earns its keep:
- During every period on your feet — walking, stairs, kitchen tasks — when gravity and movement strain the repair.
- When coughing or sneezing; press a hand or a pillow over the binder for extra bracing.
- During bowel movements in the first week, when straining pressure peaks.
It comes off for showering, for washing the binder itself, and for a daily skin check unless your surgeon says otherwise. Typical total wear time runs six to eight weeks, then tapers — first shorter days, then activity-only use — as your abdominal wall regains its own strength. Do not stop abruptly at a calendar date if you still feel dependent on the support; raise it with your surgical team instead.
Skin Care and the Mistakes That End Binder Use Early
Skin complaints, not lack of benefit, are what usually stop patients from wearing their binder as prescribed. All of the following are avoidable:
- Never place the binder over an open or undressed incision; it goes over the surgical dressing, or over a thin, seamless garment if your skin is sensitive.
- Check the skin under the binder once a day. Redness that fades within twenty to thirty minutes of removal is normal pressure; marks that linger, blister, or itch intensely mean the fit needs adjusting.
- Wash the binder according to its label and let it air dry. Machine heat degrades elastic recovery, and a binder that has lost its rebound cannot hold consistent compression.
- Keep the edges flat. A rolled edge acts like a narrow strap and is the fastest route to skin breakdown.
- Loosen the closure slightly for meals if full pressure feels uncomfortable — digestion pushes the abdomen outward, and a rigid binder amplifies that sensation.
Why Construction Matters More With Every Week of Wear
A binder worn for two days only needs to be clean and roughly the right size. A binder prescribed for six to eight weeks has to hold its compression, edge softness, and closure strength through daily wear and repeated washing, and those qualities are decided in how the elastic webbing itself is made. Multi-panel construction lets tension build in stages, spreading pressure across the abdomen instead of concentrating it at one closure line. A generous hook-and-loop field allows small-step adjustment as swelling subsides, which a fixed-size band cannot offer. Quality elastic yarns keep their rebound after dozens of wash cycles, so week-seven compression matches week-one compression.
These are the variables we engineer for at Jinhu Hengxiang Webbing, a manufacturer of elastic webbing for abdominal binders and orthopedic supports operating under ISO 13485-certified quality management. Our abdominal binder elastic webbing covers the core constructions most finished supports are built around, starting with multi-panel bands:
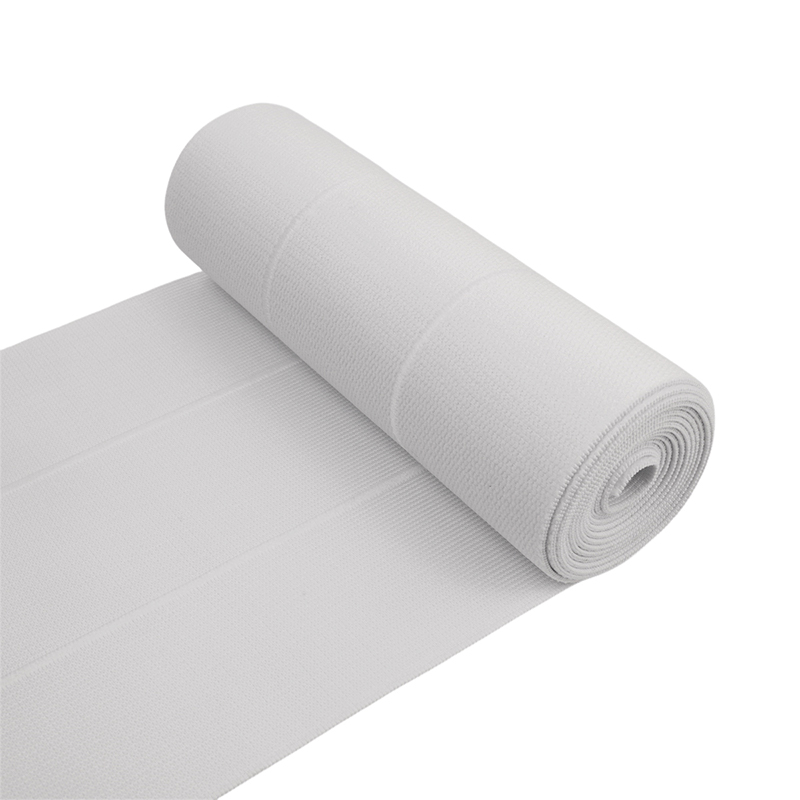
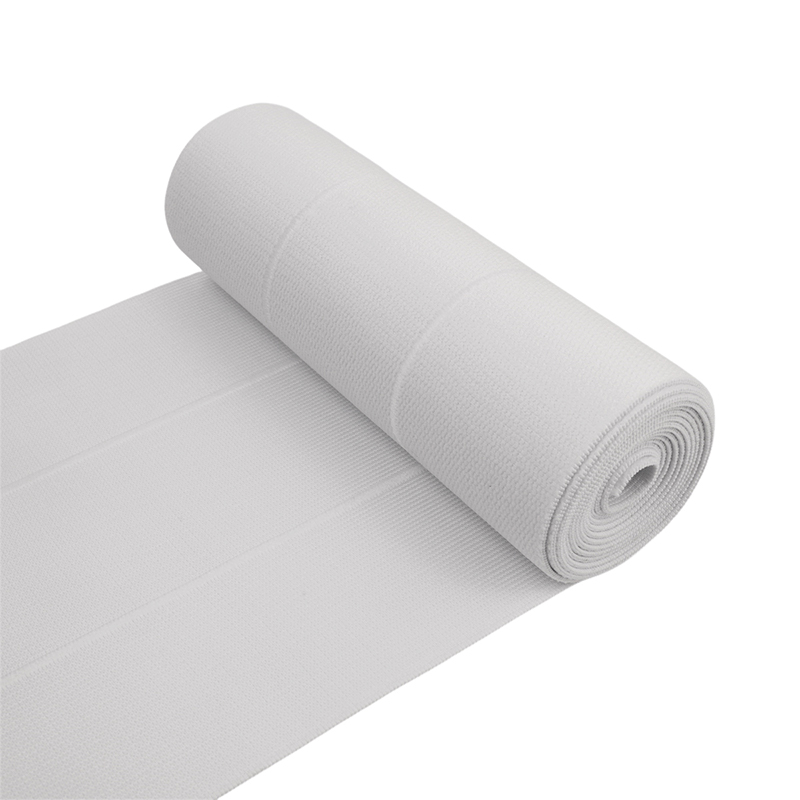 3 Panel Elastic Band with One Side PlushA latex-free polyester/nylon/spandex band in 7.5 to 12 inch widths, with a plush fastening face and flat face, suited to post-surgical abdominal binders where staged compression and skin comfort matter.View Product →
A three-panel band with a plush fastening face puts a soft surface against the dressing while the elastic layers take tension in stages — this is the layout most post-surgical binders use.
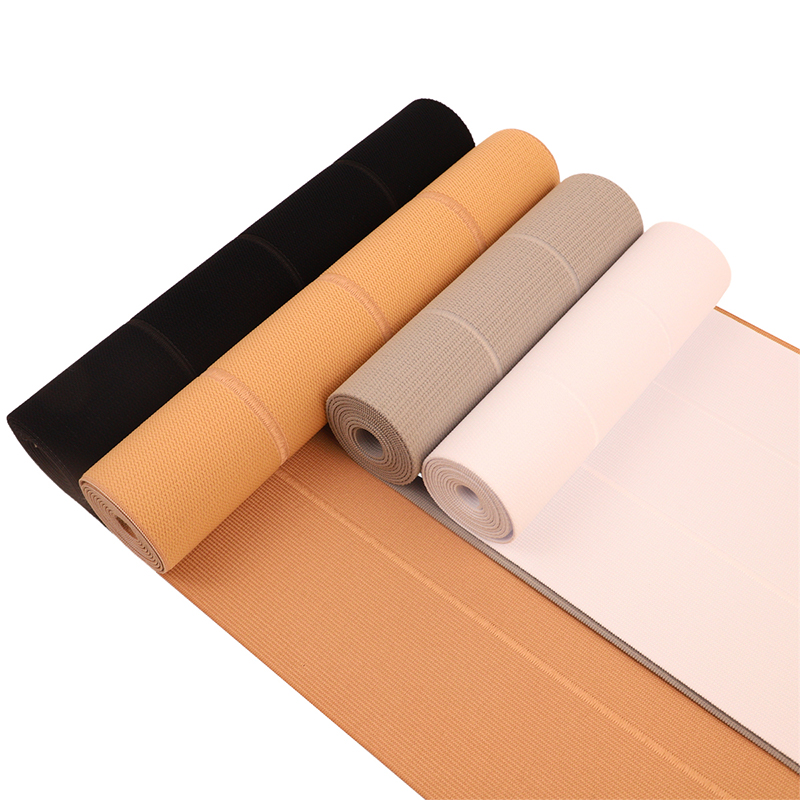 4 Panel Elastic Band with One Side PlushThe four-panel construction adds an extra adjustment stage, useful when swelling subsides unevenly. It offers breathable, latex-free support in 6, 9, and 12 inch widths for hernia, C-section, and childbirth recovery.View Product →
A four-panel band adds one more adjustment step, which helps patients whose swelling subsides unevenly or whose surgeons want finer control over compression across the abdomen.
The closure is just as decisive, because it is the part the patient touches every day:
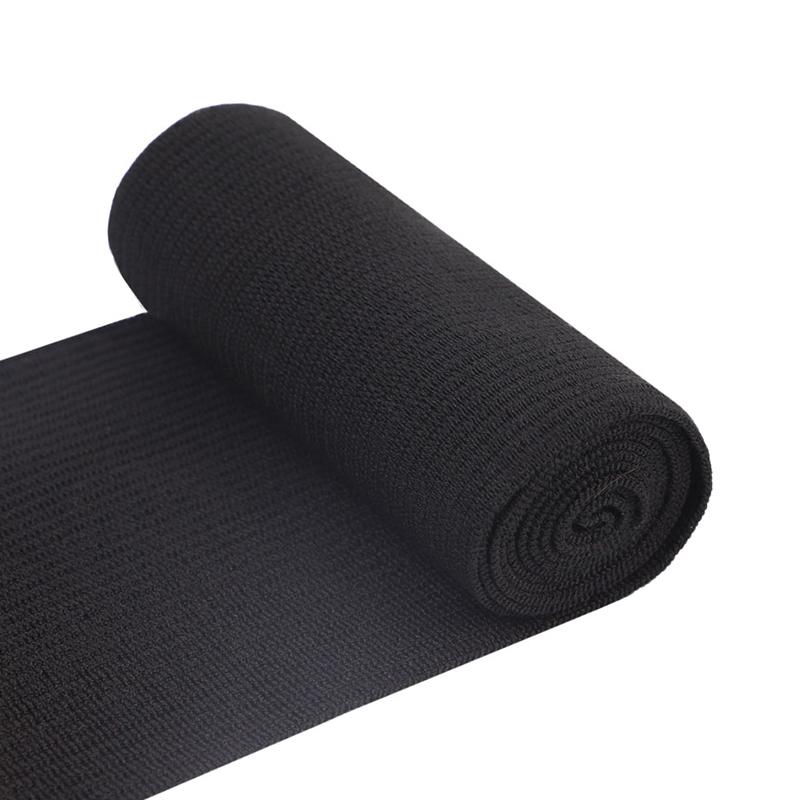
 6cm Black Hook-and-Loop Elastic PanelThis 6 cm elastic panel pairs hook-and-loop fastening with stable stretch, letting patients tighten a binder in small stages at home as post-surgical swelling gradually settles.View Product →
A wide hook-and-loop elastic panel like this 6 cm version is what makes small-step tightening possible at home — close it a finger's width looser in the morning, then take it in a stage as the swelling settles.
Worn with the right position, honest two-finger tension, and a schedule that follows your surgeon's protocol, an abdominal binder turns six to eight weeks of vulnerability into a structured recovery instead of a waiting game. Put it on before your first steps of the day, check your skin each evening, and treat any persistent discomfort as a fitting question rather than something to endure. And if you source binders or their components, remember that a patient's comfort at week seven was decided by choices in webbing long before the surgery took place.